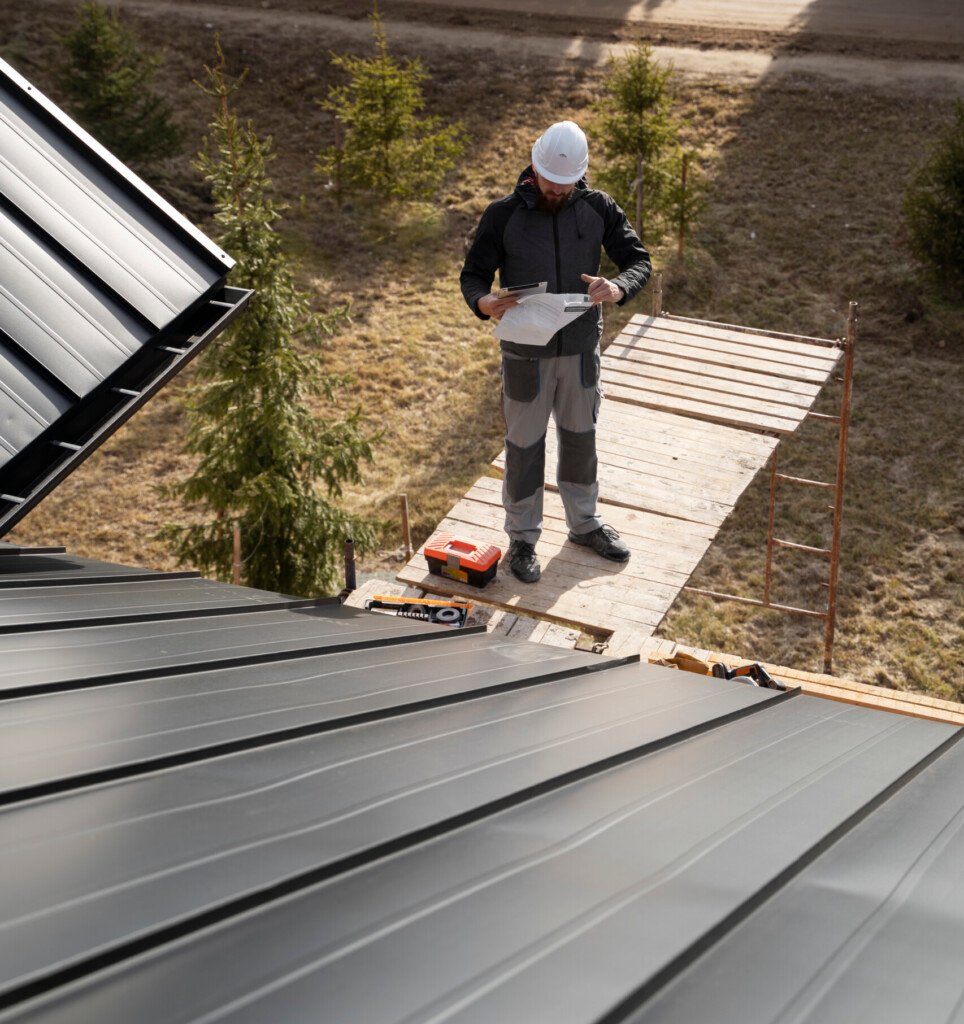
A roof replacement or installation is a significant investment for any homeowner. Understanding the roofing process can help you make informed decisions, prepare adequately, and ensure the project runs smoothly. This step-by-step guide will walk you through the essential steps of the roofing process and highlight some commonly overlooked but crucial aspects.
Step-by-Step Guide to the Roofing Process
-
Initial Consultation and Inspection
- Assessment: A professional roofing contractor will inspect your existing roof to assess its condition and identify any underlying issues. They will also discuss your needs, preferences, and budget.
- Estimate: After the inspection, the contractor will provide a detailed estimate, including the scope of work, materials needed, timeline, and cost.
-
Choosing Materials and Finalizing Contract
- Material Selection: Based on your preferences and budget, select the roofing materials (e.g., asphalt shingles, metal roofing, tiles). Consider factors like durability, aesthetics, and energy efficiency.
- Contract: Review and sign a contract with your roofing contractor. Ensure it includes all details of the project, such as start and completion dates, payment schedule, and warranty information.
-
Preparing the Site
- Clear the Area: Remove vehicles, patio furniture, and other items from around your home to provide space for the roofing crew and protect your belongings.
- Protect Landscaping: Cover plants and shrubs with tarps or plastic sheeting to protect them from debris and damage.
- Attic Preparation: Cover items stored in the attic to shield them from dust and debris. Ensure the attic is accessible if needed.
-
Removing the Old Roof
- Tear-Off: The roofing crew will remove the existing roofing materials down to the roof deck. This process can be noisy and messy but is essential for a proper installation.
- Inspection and Repairs: The roof deck will be inspected for any damage. Any rotted or damaged areas will be repaired or replaced to provide a solid foundation for the new roof.
-
Installing Underlayment and Flashing
- Underlayment: A high-quality underlayment (e.g., synthetic, self-adhering membrane) is installed to provide an additional layer of protection against moisture.
- Flashing: Metal flashing is installed around roof penetrations (e.g., chimneys, vents) and along roof edges to prevent water infiltration.
-
Installing the New Roof
- Shingles or Roofing Materials: The new roofing materials are installed according to the manufacturer’s guidelines and industry standards. This step ensures your roof is both functional and aesthetically pleasing.
- Ventilation: Proper ventilation is installed to regulate temperature and moisture levels in the attic, preventing issues like mold growth and ice dams.
-
Clean-Up and Final Inspection
- Debris Removal: The roofing crew will clean up the job site, removing all debris, nails, and leftover materials. A magnet is often used to collect any stray nails from your yard.
- Final Inspection: The contractor will conduct a final inspection to ensure the roof is installed correctly and meets quality standards. They will also address any concerns or questions you may have.
-
Warranty and Maintenance
- Warranty Information: Review the warranty for your new roof, which typically covers materials and workmanship. Understand what is covered and for how long.
- Maintenance Plan: Establish a maintenance plan to keep your roof in optimal condition. Regular inspections and timely repairs can extend the lifespan of your roof.
Commonly Overlooked but Essential Steps
-
Checking for Permits and Regulations
- Permits: Ensure your roofing contractor obtains the necessary permits before starting the project. Compliance with local building codes is crucial to avoid fines and ensure the safety of your home.
- HOA Regulations: If you live in a community with a Homeowners Association (HOA), check for any specific roofing guidelines or requirements.
-
Ventilation and Insulation
- Proper Ventilation: Adequate ventilation is often overlooked but is vital for preventing moisture buildup, regulating attic temperature, and extending the lifespan of your roof.
- Insulation Check: Inspect and upgrade attic insulation if needed. Proper insulation works hand-in-hand with ventilation to maintain energy efficiency and prevent ice dams.
-
Underlayment Selection
- High-Quality Underlayment: Choosing the right underlayment is critical for protecting your roof from moisture and leaks. Opt for high-quality synthetic or self-adhering membranes for enhanced durability.
-
Flashing Details
- Flashing Installation: Proper installation of flashing around roof penetrations and edges is essential for preventing leaks. Ensure your contractor uses high-quality metal flashing and installs it correctly.
-
Communication with Contractor
- Clear Communication: Maintain open and clear communication with your roofing contractor throughout the project. Address any concerns or questions promptly to avoid misunderstandings and ensure a smooth process.
Conclusion
Understanding the roofing process and preparing adequately can make your roof replacement or installation a smooth and efficient project. By following this step-by-step guide, you can ensure your home is ready, choose the right materials, and understand the essential and commonly overlooked steps. Regular maintenance and timely repairs will help you enjoy a durable, leak-free roof for years to come.
For more information or to schedule a consultation with our experienced team, contact us today. We are dedicated to providing high-quality roofing services that meet your needs and exceed your expectations.


